- Введение
- Открываем для себя FreeCAD
- Работа с FreeCAD
- Все верстаки одним взглядом
- Традиционное моделирование методом КБГ
- Традиционное двумерное черчение
- Моделирование для проектирования продукта
- Подготовка для объёмной печати
- Создание двумерных чертежей
- Моделирование BIM
- Использование электронных таблиц
- Создание анализа методом конечных элементов
- Визуализация проекта
- Написание скриптов на Python
- Сообщество
FreeCAD использует оболочку Qt для построения своего интерфейса. Эта оболочка используется во множестве приложений, поэтому интерфейс FreeCAD interface вполне классический и не представляет сложностей для понимания. Большинство кнопок стандартны и находятся там, где ожидается (Файл → Открыть, Правка → Вставить, и т.д.). Вот как выглядит FreeCAD при первом запуске прямо после установки, когда показывается Центр Запуска:

Центр запуска это общий "пригласительный экран", который показывает полезную информацию для новичков, вроде последних обрабатываемых файлов, новостей в мире FreeCAD или быструю информацию о самых употребительных Верстаках. Он так же известит Вас при появлении новой стабильной версии FreeCAD.
Спустя некоторое время, когда Вы больше познакомитесь с FreeCAD, Вы можете сделать изменения в предпочтениях, чтобы при старте FreeCADа Вы оказывались прямо в одном из верстаков с новым открытым документом. Или просто закройте стартовую страницу и создайте новый документ:

Верстаки
Верстаки - это группы инструментов (панели инструментов, меню, и прочие элементы управления), сгруппированные по специальности. Представьте мастерскую, где разные люди работают вместе: одни с металлом, другие с деревом. Каждый из них имеет отдельный стол с особенными инструментами для их работы. Тем не менее, они все могут работать над одним и тем же объектом. То же и в FreeCAD.
In the context of FreeCAD, each Workbench is tailored to a particular type of task, organizing all the necessary tools for that activity in one interface. When switching between Workbenches, the set of tools and controls visible in the user interface adjusts to reflect the needs of the selected task, though the actual project contents or "scene" you are working on does not change. This allows for seamless transitions in workflow, such as beginning a design with basic 2D shapes in the Draft Workbench and then elaborating on these designs with advanced modeling tools in the Part Workbench.
The terms "Workbench" and "Module" are sometimes used interchangeably, but they have distinct meanings within FreeCAD. A Module is any extension that adds functionality to FreeCAD, while a Workbench is a specific kind of Module equipped with its own user interface components such as toolbars and menus, designed to facilitate specific types of tasks. Thus, every Workbench is a Module, but not every Module qualifies as a Workbench.
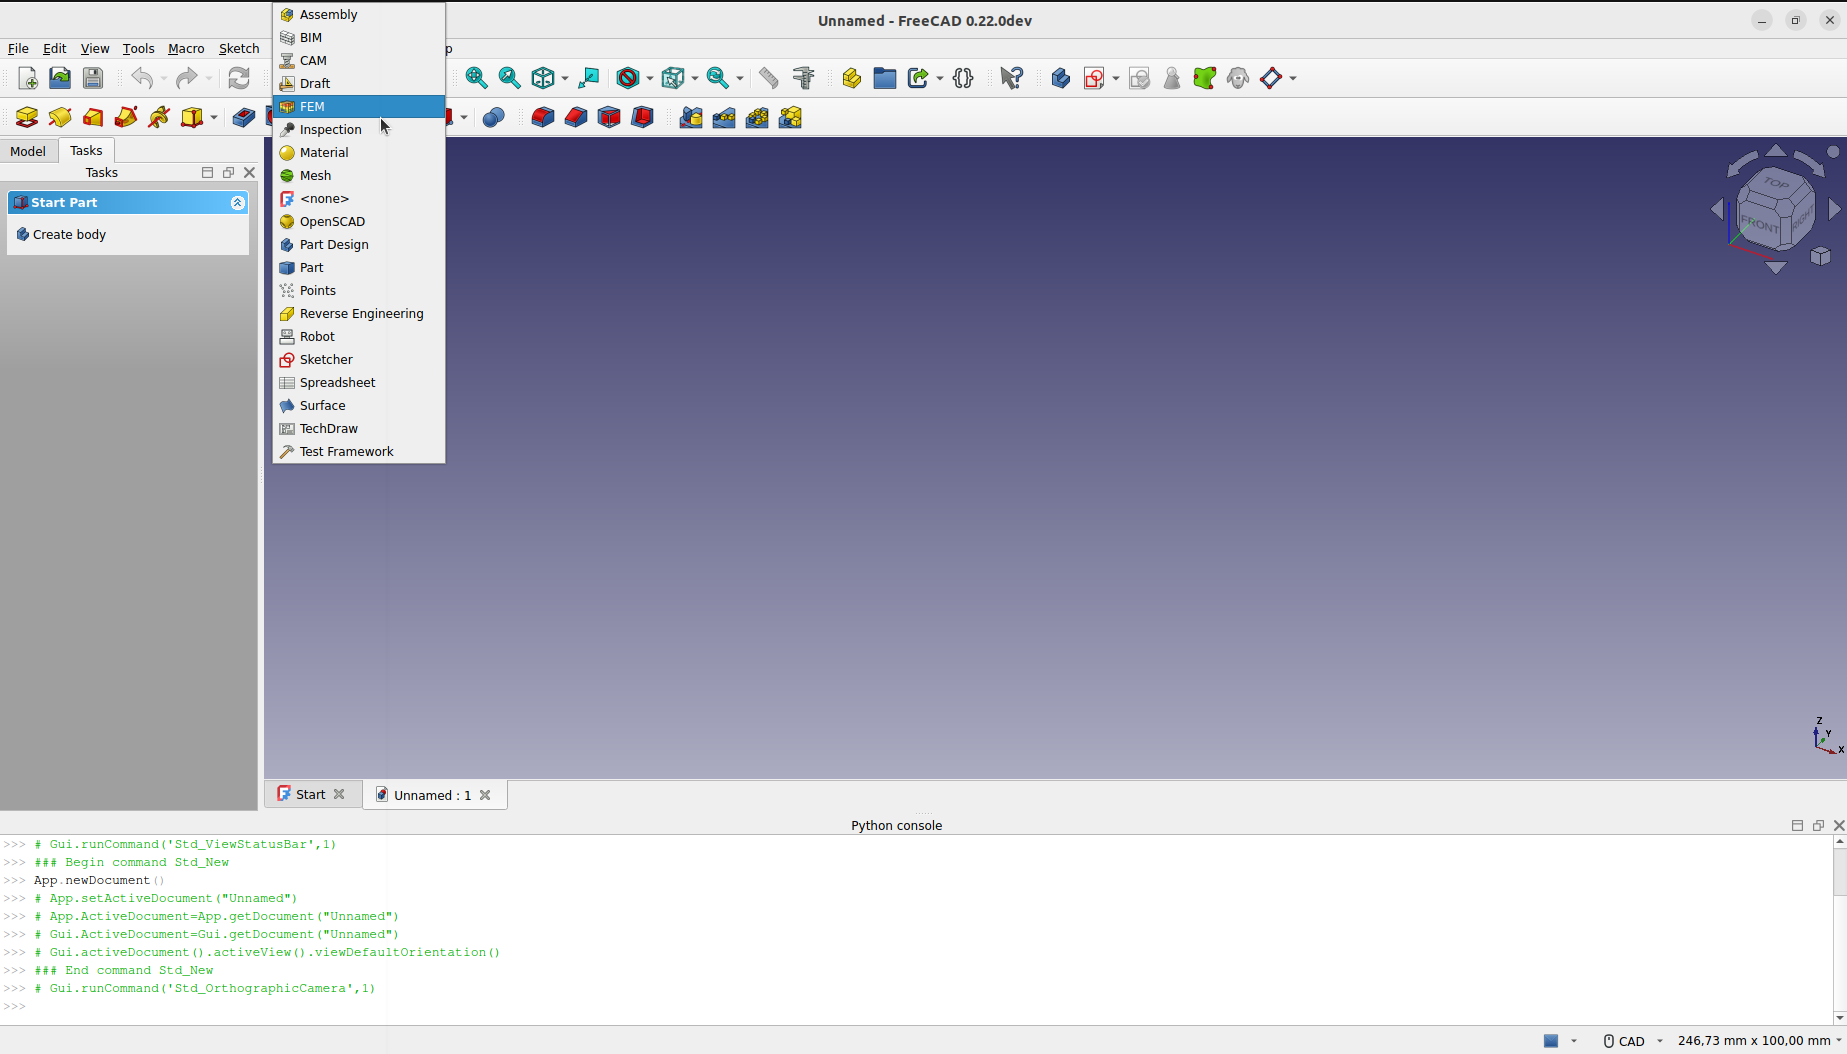
Важнейший элемент управления в FreeCAD это переключатель Верстаков, для перехода от одного верстака к другому.

The Assembly Workbench for building and solving mechanical assemblies. introduced in 1.0
The BIM Workbench for working with architectural elements and creating BIM models. It combines the Arch Workbench and the formerly external BIM Workbench available in 0.21 and below.
The CAM Workbench is used to produce G-Code instructions. This workbench was called "Path Workbench" in 0.21 and below.
The Draft Workbench contains 2D tools and basic 2D and 3D CAD operations.
The FEM Workbench provides Finite Element Analysis (FEA) workflow.
The Inspection Workbench is made to give you specific tools for the examination of shapes. Still in the early stages of development.
The Material Workbench handles the FreeCAD material system. introduced in 1.0
The Mesh Workbench for working with triangulated meshes.
The OpenSCAD Workbench for interoperability with OpenSCAD and repairing constructive solid geometry (CSG) model history.
The Part Workbench for working with geometric primitives and boolean operations.
The Part Design Workbench for building Part shapes from sketches.
The Points Workbench for working with point clouds.
The Reverse Engineering Workbench is intended to provide specific tools to convert shapes/solids/meshes into parametric FreeCAD-compatible features.
The Robot Workbench for studying robot movements. Currently unmaintained.
The Sketcher Workbench for working with geometry-constrained sketches.
The Spreadsheet Workbench for creating and manipulating spreadsheet data.
The Surface Workbench provides tools to create and modify surfaces. It is similar to the Part Builder Face from edges option.
The TechDraw Workbench for producing technical drawings from 3D models. It is the successor of the Drawing Workbench.
The Test Framework Workbench is for debugging FreeCAD.
Верстаки часто смущают новых пользователей, поскольку не всегда понятно, где искать нужный инструмент. Но их легко изучить, и вскоре Вы почувствуете их суть - как удобный путь для организации множества инструментов, которые может предложить FreeCAD. Workbenches так же полностью настраиваемы. Те же инструменты могут появляться в разных верстаках. Иконка кнопки отдельного инструмента будет той же вне зависимости от того, в каком верстаке она появится.
Интерфейс
Давайте приглядимся к различным частям интерфейса:

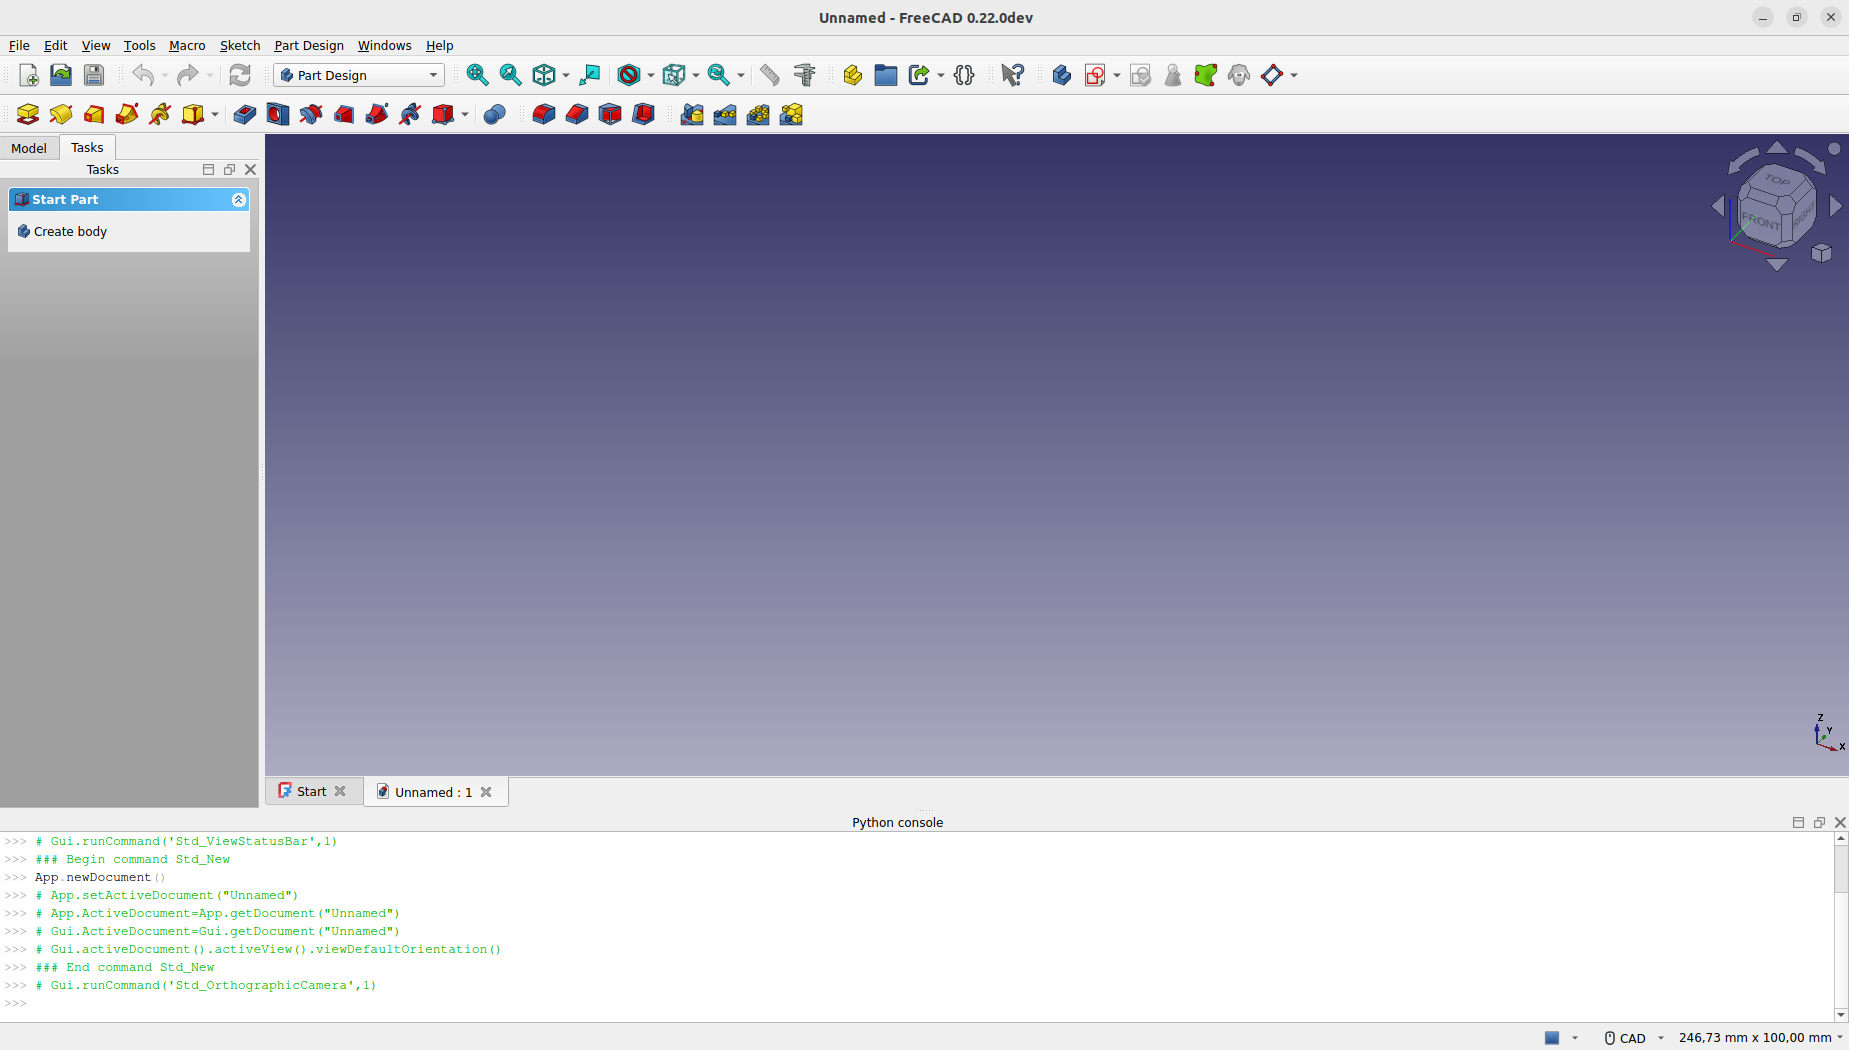
The main window of the application can be roughly divided into 11 sections:
- The Main view area, which can contain different tabbed windows.
- The 3D view, normally embedded in the main view area. The 3D view is the central element of the interface, displaying and allowing manipulation of the objects you are working on. It is possible to have multiple views of the same document (or objects) or to have several documents open simultaneously. Additionally, each view can be detached from the main window separately.
- The Model and the Tasks tab.
- The Model tab shows you the contents and structure of your document.
- The Tasks tab is where FreeCAD will prompt you for values specific to the workbench and tool you are currently using (for example dimensions of an object).
- The Property editor which appears when the Model tab is active in the interface. It allows managing the publicly exposed properties of the objects in the document. It consists of the Data and View sections, showing the visualization properties and the parametric properties of the objects respectively.
- The Selection view which indicates the objects or sub-elements of objects (vertices, edges, faces) that are selected.
- The Report view where messages, warnings and errors are shown.
- The Python console. The Python console, where all the commands executed are printed, and where you can enter Python code.
- The Status bar where some messages and tooltips appear.
- The toolbar area, where the toolbars are docked.
- The workbench selector, where you select the active workbench.
- The standard menu, which holds basic operations of the program.
Most of the above panels can be hidden or revealed using the View → Panels menu
Настройка интерфейса
Интерфейс FreeCAD глубоко настраиваем. Все панели и инструменты могут перемещаться в разные места или накладывать друг на друга. Они так же могут быть закрыты и открыты при необходимости через меню Вид или правым кликом на пустом месте интерфейса. Однако доступны много других опций, вроде создания пользовательских панелей инструментов с инструментами из других Верстаков, или назначение и изменение клавиатурных сокращений.
Продвинутые опции настройки доступны через Панели инструментов → Настройка:

Читать далее
Эта страница получена от https://wiki.freecad.org/Manual:The_FreeCAD_Interface