The external Render Workbench should be used instead.

Introducción
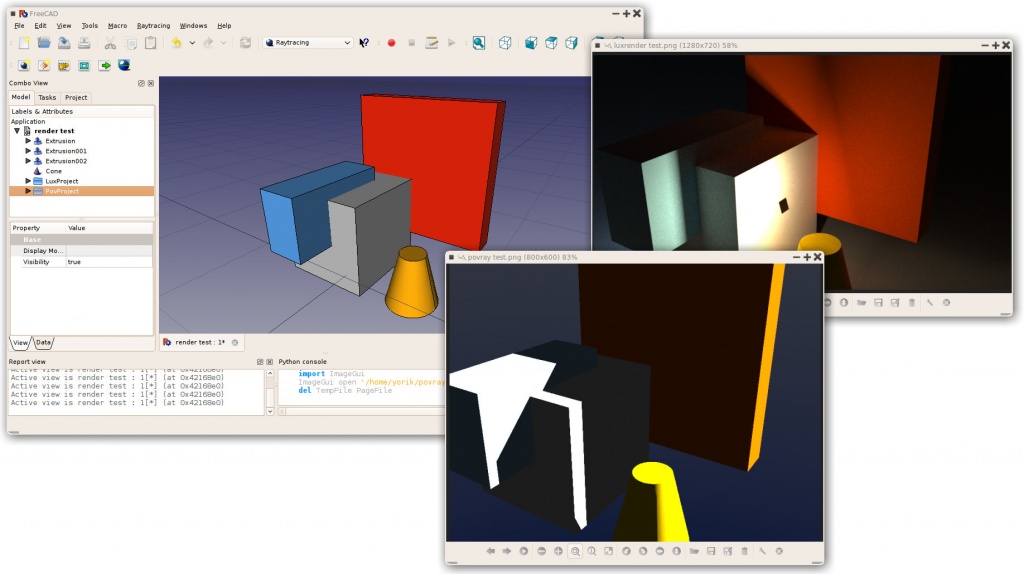
El ![]() Ambiente de trabajo Trazado de rayos es usado para generar imágenes fotorealistas de tus modelos al renderizarlos con un renderizador externo.
Ambiente de trabajo Trazado de rayos es usado para generar imágenes fotorealistas de tus modelos al renderizarlos con un renderizador externo.
El Ambiente de trabajo trazado de rayos opera con plantillas, que son archivos de escena para un renderizador dado, incluyendo iluminación y posiblemente geometría adicional como son planos de suelo. Estos archivos de escena contienen apartados, en los que FreeCAD insertará la posición de la cámara, y la geometría e información de materiales de cada objeto que insertes en el proyecto. La escena modificada es exportada después al renderizador externo.
De momento, dos renderizadores son soportados povray y luxrender. Para poder renderizar directamente en FeeCAD, al menos uno de esos renderizadores debe estar instalado en tu sistema, y su ubicación debe ser configurada en las preferencias de trazado de rayos de FreeCAD. Si ningún renderizador está instalado, todavía puedes exportar un archivo de escena que puede ser utilizado por alguno de los renderizadores después, o en otra máquina.
The Raytracing workbench is essentially obsolete. New development is happening in the Render Workbench, which is intended as its replacement. This workbench is fully programmed in Python so it is much easier to extend than the current workbench which is programmed in C++. Nevertheless, the information in this page is generally useful for the new workbench, as both modules work basically in the same way.
Typical workflow
Flujo de trabajo típico
- Crea o abre un proyecto FreeCAD, agrega algunos objetos basados en sólidos (por el momento no se soportan mallas)
- Crea un proyecto de trazado de rayos (luxrender o povray)
- Selecciona los objetos que desees agregar al proyecto de trazado de rayos y agrçegalos con la herramienta "Insertar Parte"
- Exporta el proyecto o renderízalo directamente

Workflow of the Raytracing Workbench; the workbench prepares a project file from a given template, and then calls an external program to produce the actual rendering of the scene. The external renderer can be used independently of FreeCAD.
Herramientas GUI
Project tools
These are the main tools for exporting your 3D work to external renderers.
 New PovRay project: Insert new PovRay project in the document
 New LuxRender project: Insert new LuxRender project in the document
 Insert part: Insert a view of a Part in a raytracing project
 Reset camera: Matches the camera position of a raytracing project to the current view
 Export project: Exports a raytracing project to a scene file for rendering in an external renderer
 Render: Renders a raytracing project with an external renderer
Utilities
These are helper tools to perform specific tasks manually.
 Export view to povray: Write the active 3D view with camera and all its content to a povray file
 Export camera to povray: Export the camera position of the active 3D view in POV-Ray format to a file
 Export part to povray: Write the selected Part (object) as a povray file
Preferences
 Preferences: Preferences available in for the Raytracing tools.
Tutorials
Creating a povray file manually
Creando el archivo povray manualmente
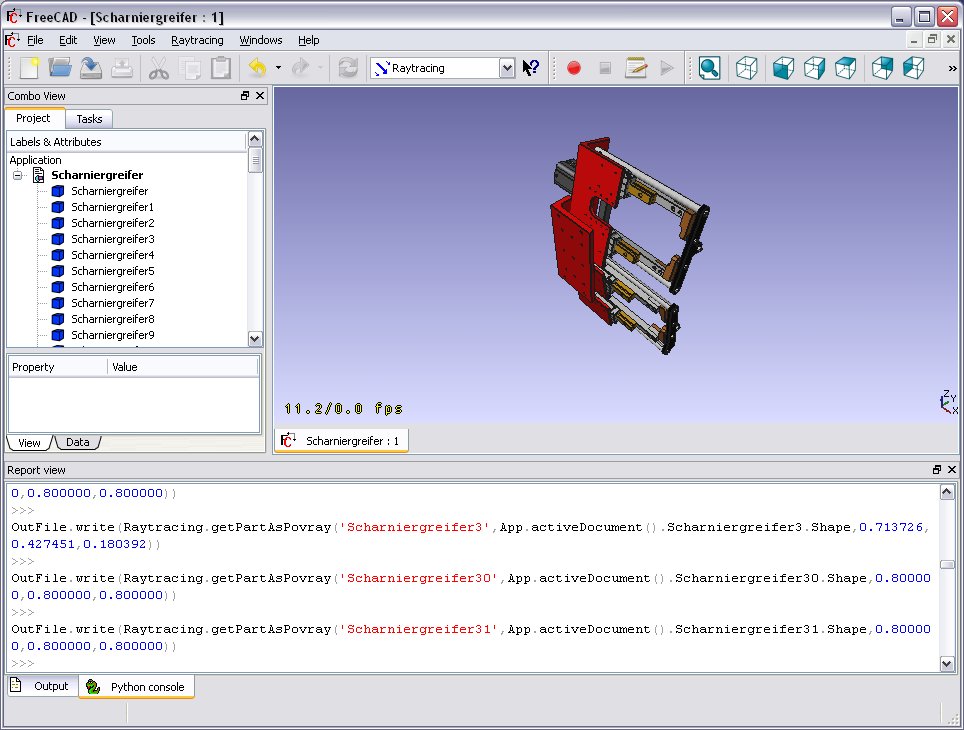
Las herramientas descritas anteriormente te permiten exportar la vista 3D actual y todos sus contenidos a un archivo Povray. Primero, debes de cargar o crear tu información de CAD y posicionar la orientación de vista 3D como desees. Después selecciona "Utilidades->Exportar Vista..." del menu de trazado de rayos.
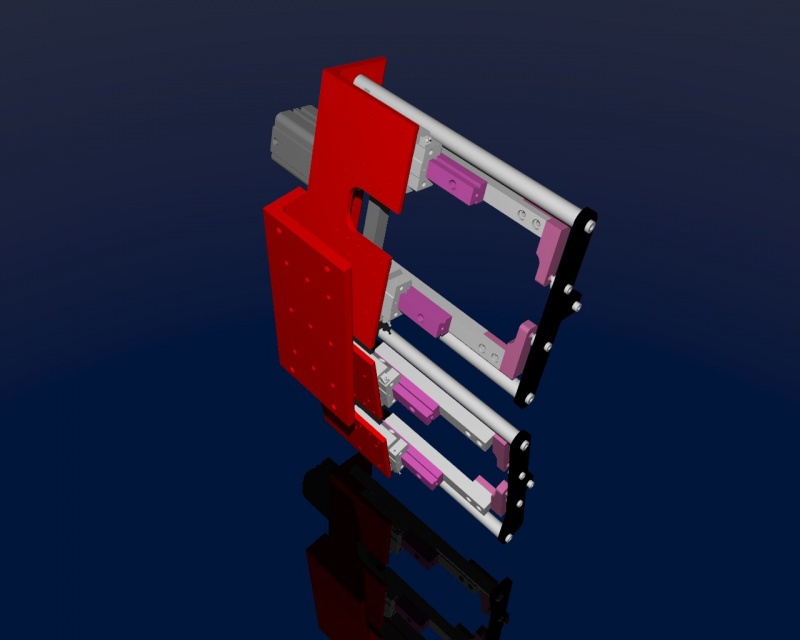
Se te solicitará la ubicación para guardar el archivo *.pov resultante. Después de ello puedes abrirlo en Povray y renderizar:

Como siempre, en un renderizador puedes hacer imágenes grandes y bonitas:
Archivos de guión
See the Raytracing API example for information on writing scenes programmatically.
Enlaces
POV-Ray
Sobre POV-Ray:
LuxRender
Future possible renderers to implement
Exporting to Kerkythea
Although direct export to the Kerkythea XML-File-Format is not supported yet, you can export your Objects as Mesh-Files (.obj) and then import them in Kerkythea.
- if using Kerkythea for Linux, remember to install the WINE-Package (needed by Kerkythea for Linux to run)
- you can convert your models with the help of the mesh workbench to meshes and then export these meshes as .obj-files
- If your mesh-export resulted in errors (flip of normals, holes ...) you may try your luck with netfabb studio basic
- Free for personal use, available for Windows, Linux and Mac OSX.
- It has standard repair tools which will repair you model in most cases.
- another good program for mesh analysing/repairing is Meshlab
- Open Source, available for Windows, Linux and Mac OSX.
- It has standard repair tools which will repair you model in most cases (fill holes, re-orient normals, etc.)
- you can use "make compound" and then "make single copy" or you can fuse solids to group them before converting to meshes
- remember to set in Kerkythea an import-factor of 0.001 for obj-modeler, since Kerkythea expects the obj-file to be in m (but standard units-scheme in FreeCAD is mm)
- Within WIndows 7 64-bit Kerkythea does not seem to be able to save these settings.
- So remember to do that each time you start Kerkythea
- if importing multiple objects in Kerkythea you can use the "File → Merge" command in Kerkythea
Development
These pages refer to the new workbench, programmed in Python, meant to replace the current Raytracing Workbench.
- Render Workbench
- Render Workbench (announcement only, no discussion)
- FreeCAD Renderer Workbench improvements
Esta página ha sido recuperada de https://wiki.freecad.org/Raytracing_Workbench