- Introduction
- Discovering FreeCAD
- Working with FreeCAD
- Python scripting
- The community
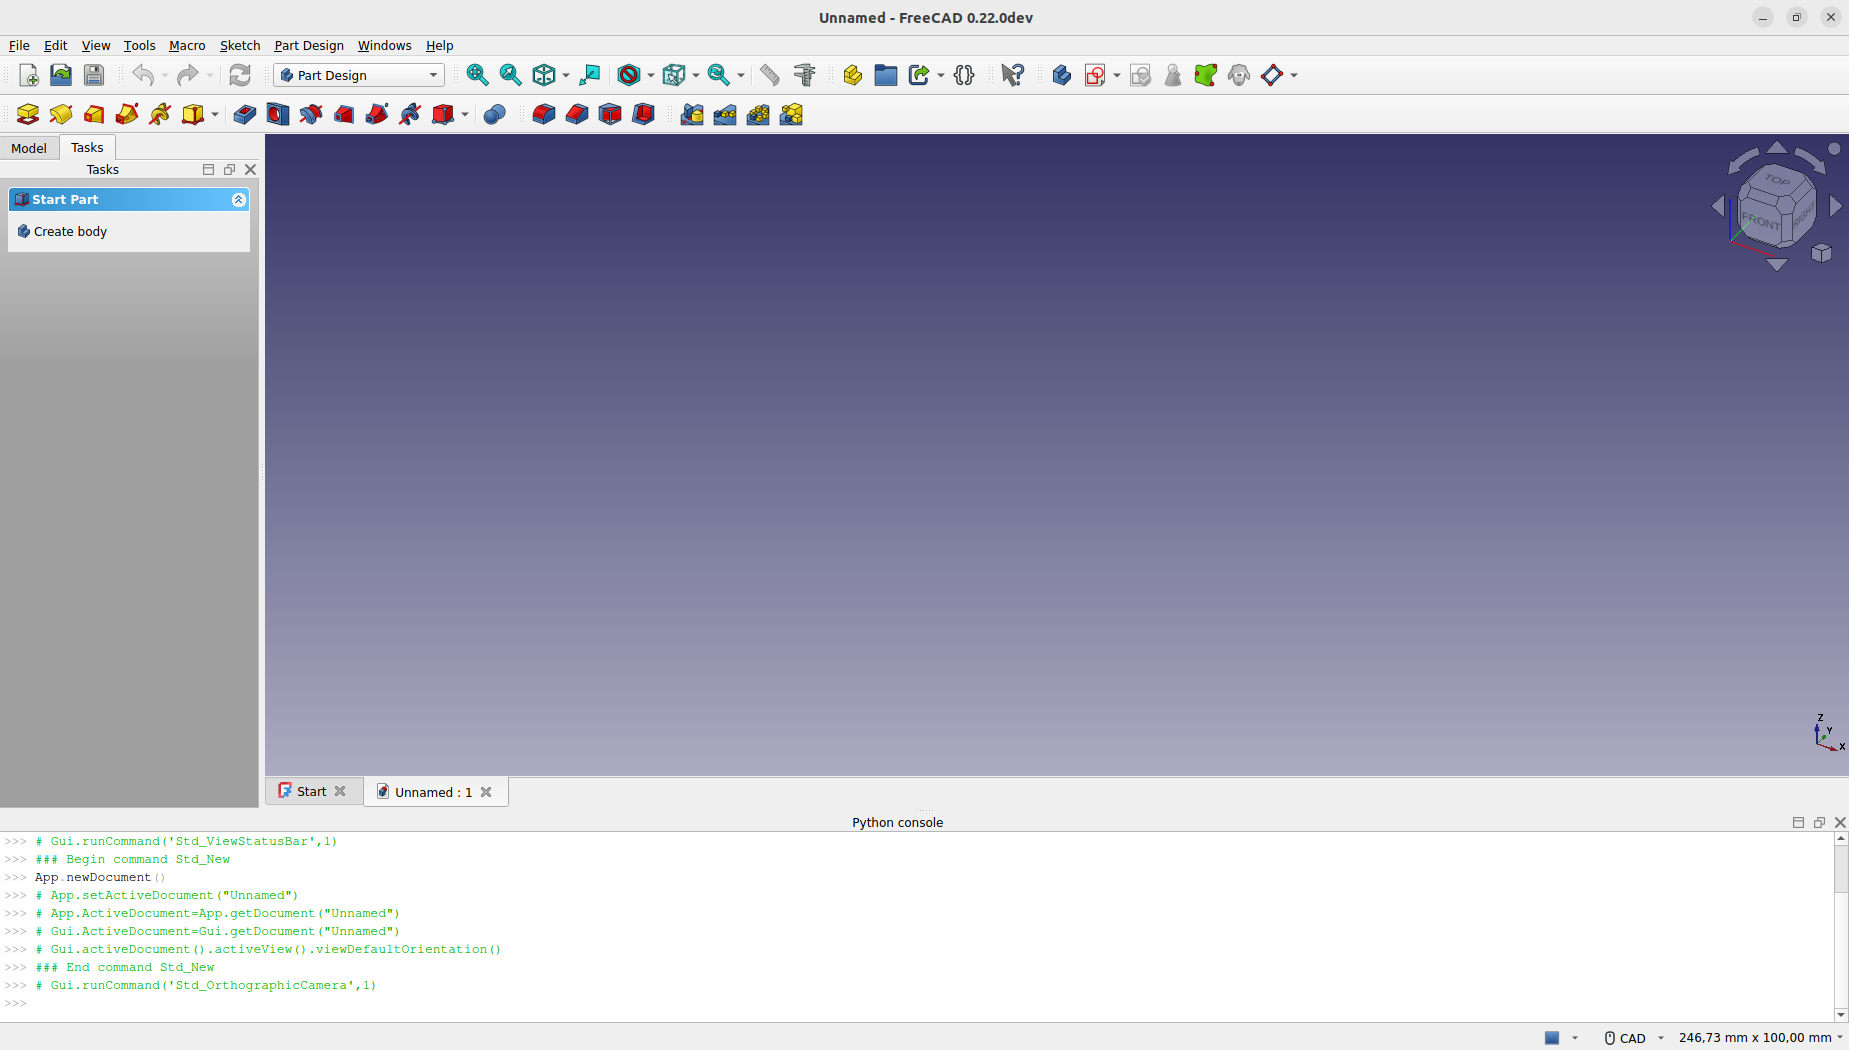
FreeCAD is based on the Qt framework and is characterized by a simple and straightforward interface. More experienced CAD users will be able to identify similarities with other software, while new users will find it easy to navigate and discover the various options FreeCAD offers. Here is the default look of FreeCAD:

The Start Page serves as the welcoming screen, designed to facilitate quick and easy access to the main areas of FreeCAD that a user might wish to explore. Through it, users can effortlessly create new parts, open recent files, and initiate 2D drafting. Additionally, it features shortcuts to helpful resources like tutorials and user forums, which are invaluable for both beginners and experienced users seeking guidance or tips. Users can easily customize the appearance of the Start Page according to their preferences.
As you become more proficient with FreeCAD, you might adjust the settings under preferences. This can configure FreeCAD to open directly into one of the Workbenches with a new document ready to go when you launch it. Alternatively, you can simply close the Start Page tab and manually create a new document.
Workbenches
FreeCAD employs a system called "Workbenches," similar to the conceptual frameworks used in advanced design software like Revit or CATIA. The idea of a Workbench is analogous to specialized stations in a scientific lab, where different workstations are equipped for distinct types of experiments. In a lab, you might have one area dedicated to chemistry, another to biology, and a third to physics, each outfitted with the specific tools needed for those disciplines.
In the context of FreeCAD, each Workbench is tailored to a particular type of task, organizing all the necessary tools for that activity in one interface. When switching between Workbenches, the set of tools and controls visible in the user interface adjusts to reflect the needs of the selected task, though the actual project contents or "scene" you are working on does not change. This allows for seamless transitions in workflow, such as beginning a design with basic 2D shapes in the Draft Workbench and then elaborating on these designs with advanced modeling tools in the Part Workbench.
The terms "Workbench" and "Module" are sometimes used interchangeably, but they have distinct meanings within FreeCAD. A Module is any extension that adds functionality to FreeCAD, while a Workbench is a specific kind of Module equipped with its own user interface components such as toolbars and menus, designed to facilitate specific types of tasks. Thus, every Workbench is a Module, but not every Module qualifies as a Workbench.
The most important control of the FreeCAD interface is the Workbench selector, which you use to switch from one Workbench to the other:
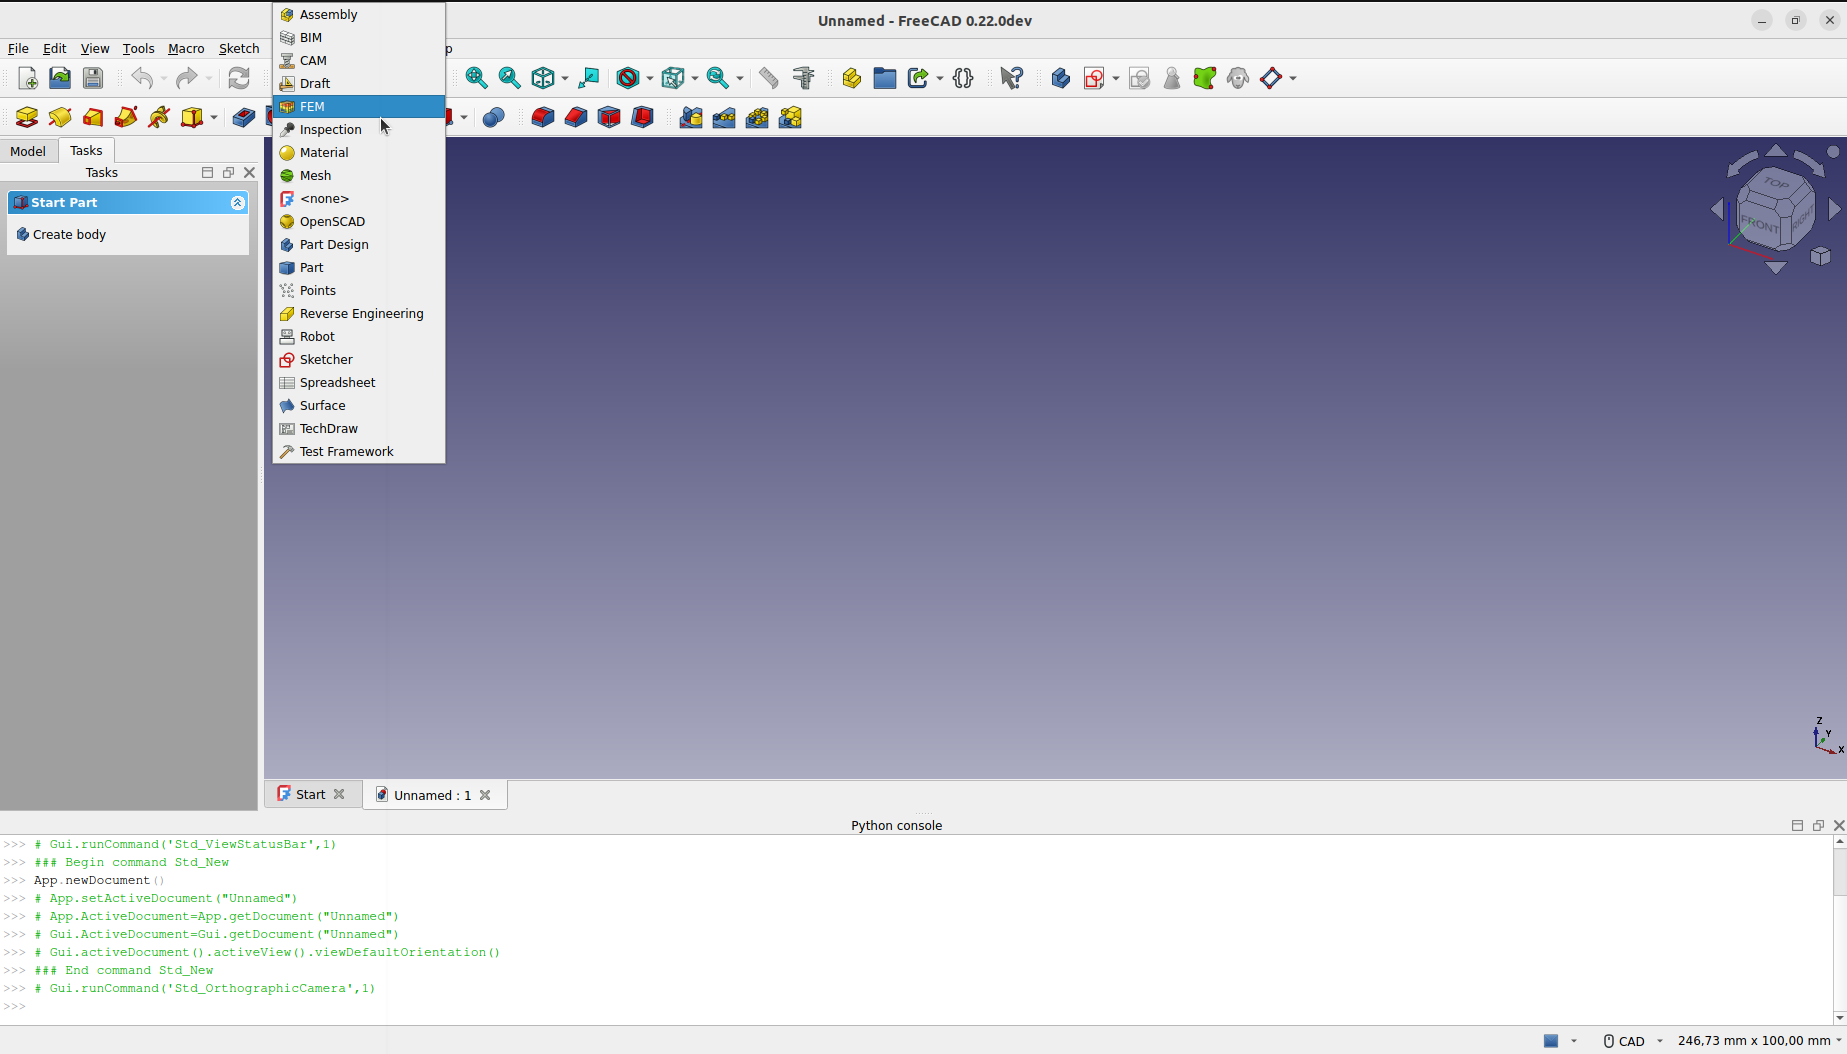
Workbenches often confuse new users, since it's not always easy to know in which Workbench to look for a specific tool. But they are quick to learn, and after a short while, they will feel natural. New users quickly realize that Workbenches are a convenient way to organize the multitude of tools FreeCAD has to offer. In addition, Workbenches are also fully customizable.
Enabled workbenches
The following workbenches are enabled by default:
 The Assembly Workbench for building and solving mechanical assemblies. introduced in 1.0
 The BIM Workbench for working with architectural elements and creating BIM models. It combines the Arch Workbench and the formerly external BIM Workbench available in 0.21 and below.
 The CAM Workbench is used to produce G-Code instructions. This workbench was called "Path Workbench" in 0.21 and below.
 The Draft Workbench contains 2D tools and basic 2D and 3D CAD operations.
 The FEM Workbench provides Finite Element Analysis (FEA) workflow.
 The Material Workbench handles the FreeCAD material system. introduced in 1.0
 The Mesh Workbench for working with triangulated meshes.
 The Part Workbench for working with geometric primitives and boolean operations.
 The Part Design Workbench for building Part shapes from sketches.
 The Points Workbench for working with point clouds.
 The Reverse Engineering Workbench is intended to provide specific tools to convert shapes/solids/meshes into parametric FreeCAD-compatible features.
 The Sketcher Workbench for working with geometry-constrained sketches.
 The Spreadsheet Workbench for creating and manipulating spreadsheet data.
 The Surface Workbench provides tools to create and modify surfaces. It is similar to the Part Builder Face from edges option.
 The TechDraw Workbench for producing technical drawings from 3D models. It is the successor of the Drawing Workbench.
Disabled workbenches
introduced in 1.1 The following rarely used workbenches are disabled by default, they can be enabled in preferences:
 The Inspection Workbench is made to give you specific tools for the examination of shapes. Still in the early stages of development.
 The OpenSCAD Workbench for interoperability with OpenSCAD and repairing constructive solid geometry (CSG) model history.
 The Robot Workbench for studying robot movements. Currently unmaintained.
 The Test Framework Workbench is for debugging FreeCAD.
The interface
Let's have a better look at the different parts of the interface:

The main window of the application can be roughly divided into 11 sections:
- The Main view area, which can contain different tabbed windows.
- The 3D view, normally embedded in the main view area. The 3D view is the central element of the interface, displaying and allowing manipulation of the objects you are working on. It is possible to have multiple views of the same document (or objects) or to have several documents open simultaneously. Additionally, each view can be detached from the main window separately.
- The Model and the Tasks tab.
- The Model tab shows you the contents and structure of your document.
- The Tasks tab is where FreeCAD will prompt you for values specific to the workbench and tool you are currently using (for example dimensions of an object).
- The Property editor which appears when the Model tab is active in the interface. It allows managing the publicly exposed properties of the objects in the document. It consists of the Data and View sections, showing the visualization properties and the parametric properties of the objects respectively.
- The Selection view which indicates the objects or sub-elements of objects (vertices, edges, faces) that are selected.
- The Report view where messages, warnings and errors are shown.
- The Python console. The Python console, where all the commands executed are printed, and where you can enter Python code.
- The Status bar where some messages and tooltips appear.
- The toolbar area, where the toolbars are docked.
- The workbench selector, where you select the active workbench.
- The standard menu, which holds basic operations of the program.
Most of the above panels can be hidden or revealed using the View → Panels menu
Customizing the interface
The FreeCAD interface is designed for extensive customization. All toolbars and panels can be relocated, stacked, or even docked in various configurations according to user preference. Additionally, they can be closed and then reopened as required. Beyond these capabilities, users have numerous other options including the ability to create custom toolbars with tools selected from any of the available Workbenches, and to assign or modify keyboard shortcuts to streamline workflow. This flexibility ensures that users can tailor the environment to fit their specific needs and preferences.
These advanced customization options are available from the Tools → Customize menu:

Read more
This page is retrieved from https://wiki.freecad.org/Manual:The_FreeCAD_Interface