|
|
| Menu location |
|---|
| Manage → Schedule |
| Workbenches |
| BIM |
| Default shortcut |
| None |
| Introduced in version |
| - |
| See also |
| BIM Report |
Description
The Arch Schedule tool allows you to create and automatically populate a spreadsheet with contents gathered from the model.
Usage
- Open or create a FreeCAD document which contains some objects.
- Press the
 Schedule button.
 - Adjust the desired options. Enable the Associate spreadsheet option if you want the schedule to generate a FreeCAD spreadsheet. Or, alternatively, right-click the schedule in the Tree View after creation, and select Attach Spreadsheet from the context menu.
- Press OK.
Workflow
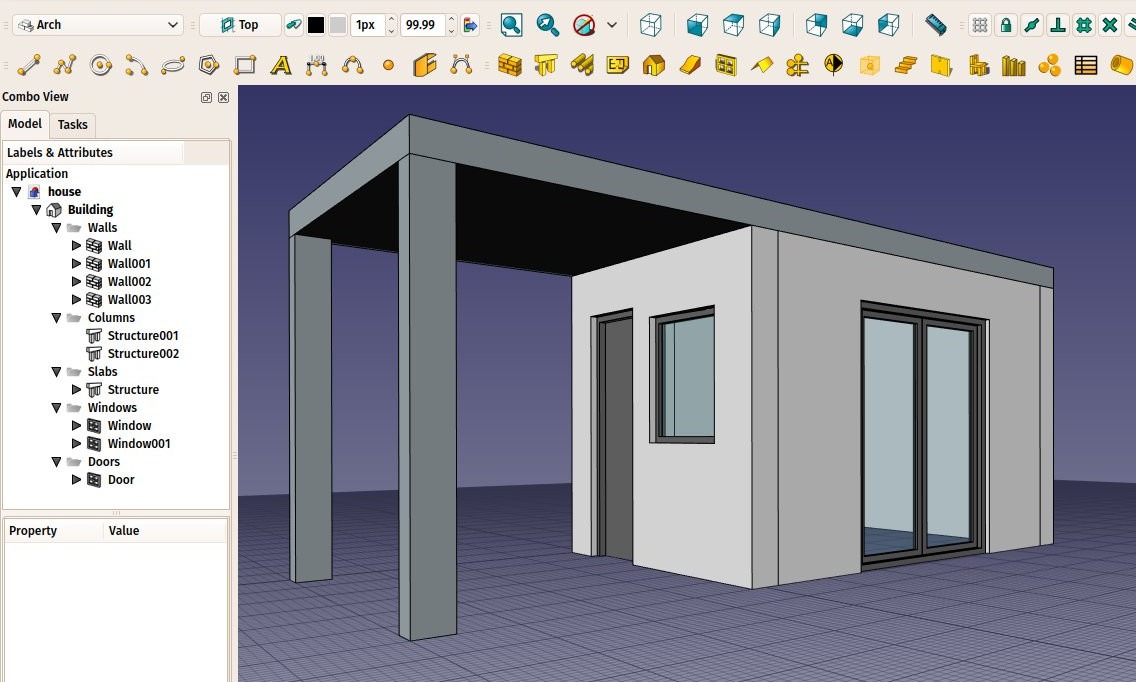
First you need to have a model. For example, here is a document with a couple of Arch objects, but other objects are also supported.
When you press the ![]() Schedule button this dialog opens:
Schedule button this dialog opens:

You can now fill the schedule row by row. Each row is a "query" and will render one row in the spreadsheet. Press the ![]() Add Row button to add a new row, and double-click each cell from that row to fill in the values. The
Add Row button to add a new row, and double-click each cell from that row to fill in the values. The ![]() Del Row button will delete the row which contains a currently selected cell, and
Del Row button will delete the row which contains a currently selected cell, and ![]() Clear will delete all rows. Possible values to put in columns are:
Clear will delete all rows. Possible values to put in columns are:
- Description: A description for this query. The Description column will be the first column of the resulting spreadsheet. The description is mandatory to have a query performed. If you leave the description cell empty, the whole row will be skipped and left blank in the spreadsheet. This allows you to add "separator" rows.
- Property: This is the real query that you want to perform on all the objects selected by the query. It can be two things: either the word
countor an object property:- If you enter
count(orCountorCOUNT, it's case-insensitive) the selected objects will simply be counted. - If you enter an object property the value of this property will be retrieved for each of the selected objects and summed up. Objects that do not have the given property will be skipped. Generally a property name will be that shown in the Property View, without spaces (e.g. type
PerimeterLengthin the Property column if the object has aPerimeter Lengthin the Property View). Use the dot notation to retrieve properties of properties:PropertyOfObject.PropertyOfProperty1.PropertyOfProperty2. If the property before the first dot starts with a lowercase letter it will be considered a reference to the object itself and be ignored. Entering for exampleobject.Shape.Volumeis the same as enteringShape.Volume.
- If you enter
- Unit: An optional unit to express the results in. It's up to you to give a unit that matches the query you are doing, for example, if you are retrieving volumes, you should use a volume unit, such as
m^3orm³. If you use a wrong unit for the property, e.g.cmfor volume, you'll get wrong results. - Objects: You can leave this empty, then all the objects of the document will be considered by this query, or give a semicolon
;-separated list of object names. If any of the objects in this list is a group, its children will be selected as well. So the easiest way to use this feature is to group your objects meaningfully in the document, and just give a group name here. You can also use the Add Selection button to add objects currently selected in the document. You must use internal names here. To select objects by their label, leave this column empty and use the Filter column instead.
 - Filter: Here you can add a semicolon
;-separated list of filters. Each filter is written in the form:property:value. You can only use properties that hold a string value. Both the property and the value are case-insensitive. Thevaluecan be left out but not the:. To properly handle schedules created with previous versions of Arch Schedule thetypeproperty will be translated to theifctypeproperty. It is advisable to not usetypein new schedules.
| Query | Description |
|---|---|
label:floor1;ifctype:window
|
Will retain only objects that have "floor1" in their DataLabel and "window" in their DataIFC Type. A window with the DataLabel "Floor1-AA" and the DataIFC Type "Window Standard Case" will be included. |
label:door
|
Will retain only objects that have "door" in their DataLabel |
!label:door
|
Will retain only objects that do not have "door" in their DataLabel |
ifctype:structural
|
Will retain only objects that have "structural" in their DataIFC Type |
!ifctype:structural
|
Will retain only objects that do not have "structural" in their DataIFC Type or that do not have the DataIFC Type property |
!ifctype:
|
Will retain only objects that do not have the DataIFC Type property |
The ![]() Import button allows you to build this list in another spreadsheet application, and import that as a csv file here.
Import button allows you to build this list in another spreadsheet application, and import that as a csv file here.
The finished schedule may look like this:

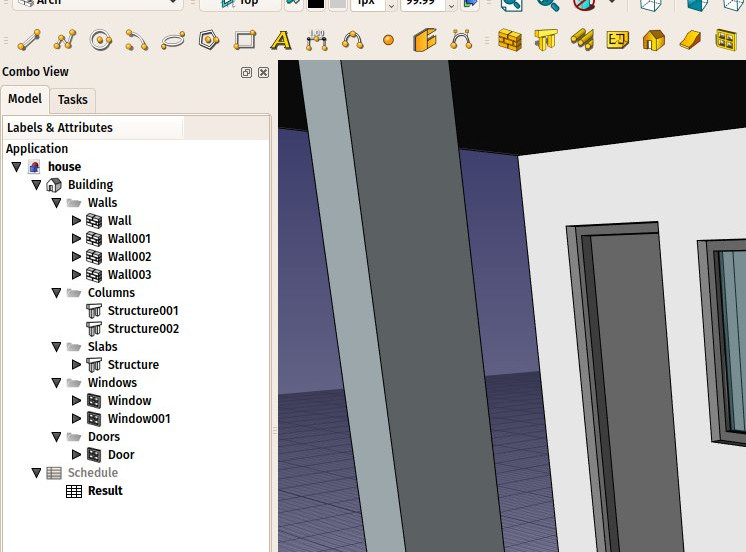
Finally, press OK and a new schedule is added to the document. If the related option has been selected, the schedule will contain an associate spreadsheet:
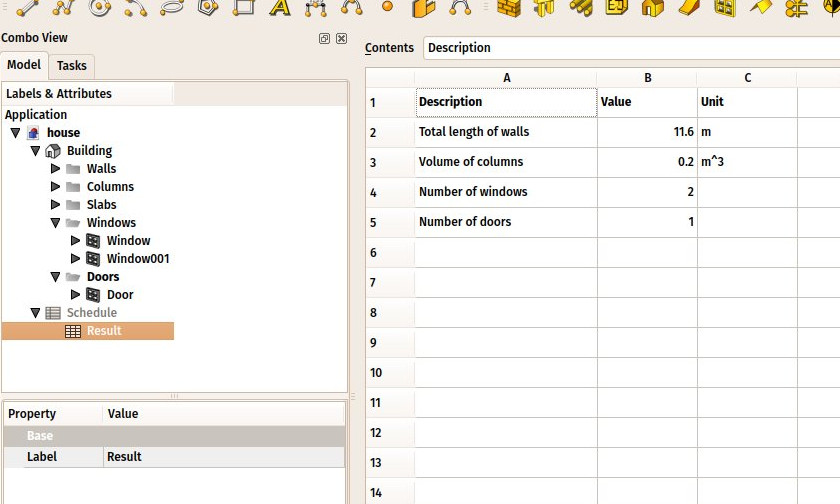
To edit an existing schedule double-click it in the Tree View. By double-clicking the spreadsheet, you get the results in 3 columns: Description, Value, Unit (if applicable):
The spreadsheet can then be exported to csv normally, from the Spreadsheet Workbench.
Dynamic properties
It is possible to add your own properties to objects. These are called Dynamic properties. If they have been added with the Prefix group name option selected, their names will indeed start with the group name, but this prefix is not displayed in the Property View. Their names have this form: NameOfGroup_NameOfProperty. To reference them in a schedule this full name must be used.
This page is retrieved from https://wiki.freecad.org/Arch_Schedule