- Introduction
- Discovering FreeCAD
- Working with FreeCAD
- Python scripting
- The community
FreeCAD поширюється за ліцензією LGPL. Ви можете завантажувати, встановлювати, поширювати та використовувати FreeCAD будь-яким способом, незалежно від виконуваної із ним роботи (коммерційної або некоммерційної). Ви не пов'язані ніякими обмеженнями і всі файли, які Ви зробили за допомогою FreeCAD, належать виключно Вам. Одна річ, яку забороняє Вам ліцензія, це стверджувати, що Ви самі написали FreeCAD!
FreeCAD працює однаково як на Windows, так і на Mac OS та Linux. Але метод встановлення відрізняється у залежності від Вашої платформи. На Windows та Mac спільнота FreeCAD забезпечує прекомпільовані пакети (завантажувачі), готові до завантаження, в той час як на Linux розробникам дістрибутивів надається вихідний код, і вже вони відповідають за складання пакетів для їх дістрибутива. У результаті Ви як правило маєте можливість встановити FreeCAD з програмного менеджера пакетів.
Офіційна сторінка завантаження FreeCAD для Windows та Mac OS знаходиться за адресою: https://github.com/FreeCAD/FreeCAD/releases
Версії FreeCAD
Офіційні випуски FreeCAD, які Ви маєте можливість знайти на сторінці вказаній зверху і у менеджері пакетів Вашого дістрибутива, це стабільні версії. Тим не менш, FreeCAD разробляється швидко! Нові можливості та виправлення помилок додаються майже кожен день. Оскільки часом треба багато часу до стабільного випуску, Вас може зацікавити остання версія FreeCAD. Ці версії для розробників, або пре-релізы, завантажуються час від часу на вишевказану сторінку завантаження download page або, якщо Ви використовуєте Ubuntu чи Fedora, спільнота FreeCAD також підтримує "збірки кожного дня" PPA та [1], які регулярно змінюються найновішими зміненнями.
Якщо ж Ви встановили FreeCAD на віртуальну машину - враховуйте погану швидкість роботи (або навіть непрацездатність у деяких випадках) через обмеження підтримки OpenGL на більшості віртуальних машин.
Встановлення на Windows
- Встановіть пакет завантажувача(.exe), який підходить до вашої версії Windows (32bit або 64bit) звідси:download page. Завантажувач FreeCAD працює на будь-якій версії, починая з Windows 7.
- Два рази натисніть на встановлений завантажувач.
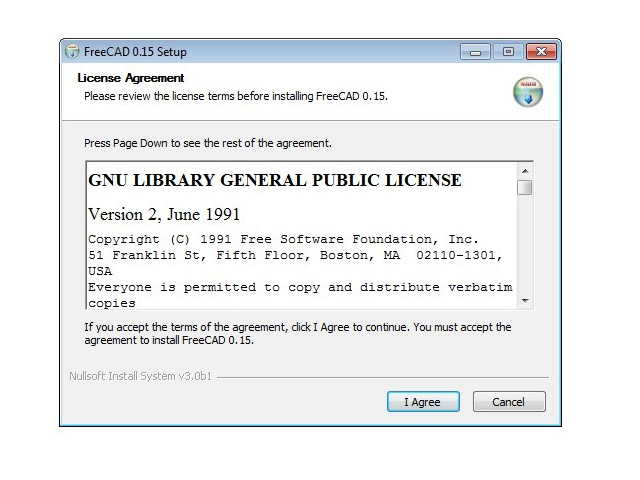
- Прийміть вимоги ліцензії LGPL. Це один з тих випадків, коли Ви дійсно можете без страху нажати кнопку "accept" без читання тексту. Ніяких схованих тверджень:
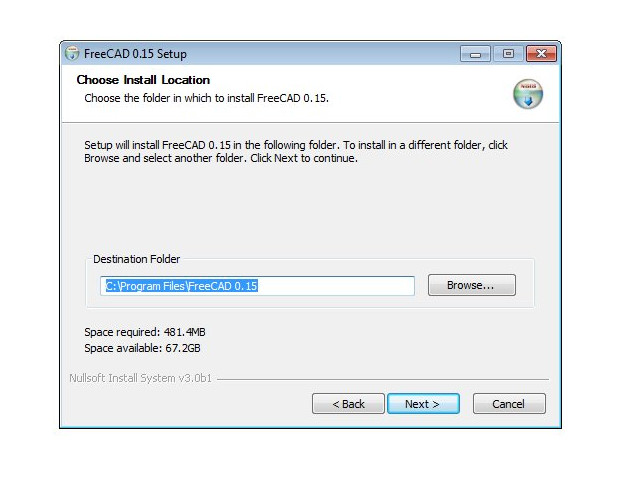
- Можна залишити путь за замовчуванням, або змінити за бажанням:
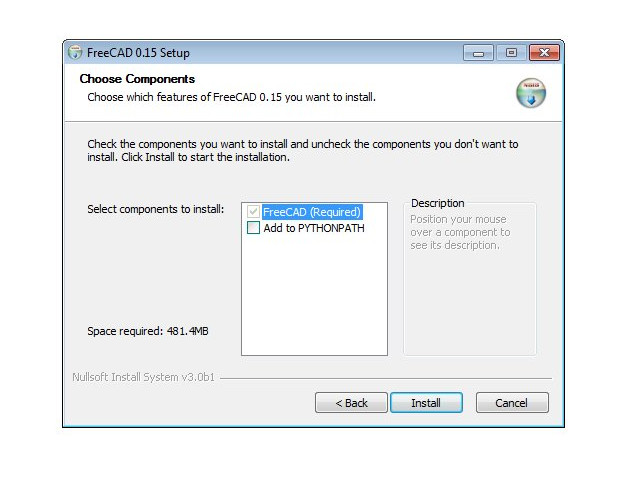
- Переменную PYTHONPATH устанавливать не требуется, если Вы не планируете сложного программирования на python, в в таком случае Вы, вероятно, уже знаете, для чего это:
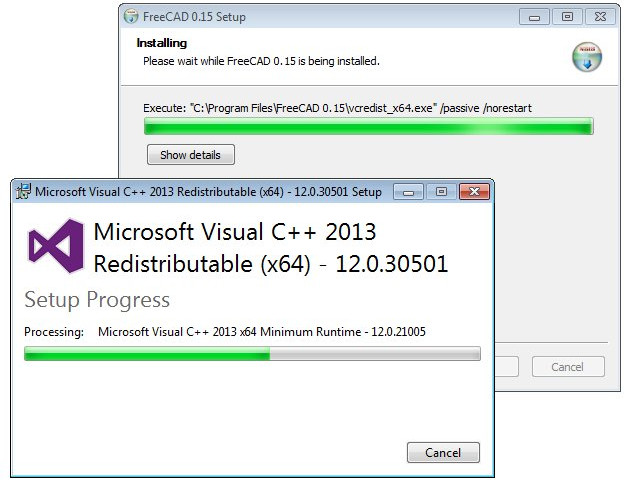
- Під час встановлення деякі додаткові компоненти, включені до пакету, будуть також встановлені:
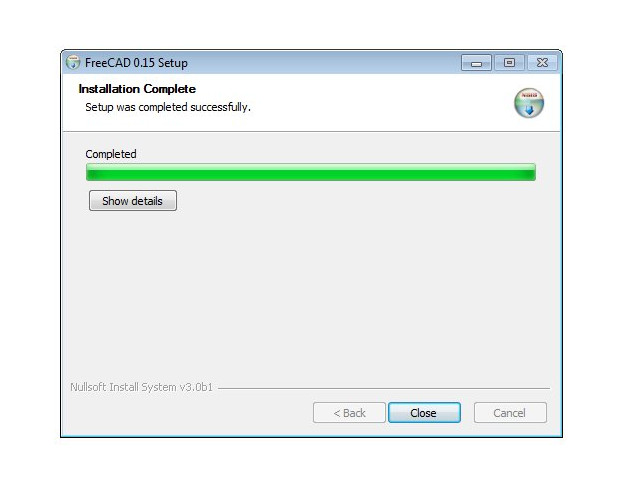
- Усе, FreeCAD встановлено. Ви можете знайти його у стартовому меню.
Завантаження версії для розробника
Пакування FreeCAD та створення завантажувача потребує деякого часу та уваги, через що версії разробника (так звані pre-release) надаються як архіви .zip (або .7z). Їм не потрібне встановлення, просто розпакуйте їх та запустіть FreeCAD подвійним натисканням на файлі FreeCAD.exe, який знаходиться всередині. Це також надасть можливість Вам мати одночасно "стабільну" та "нестабільну" версію на одному компьютері.
Встановлення на Linux
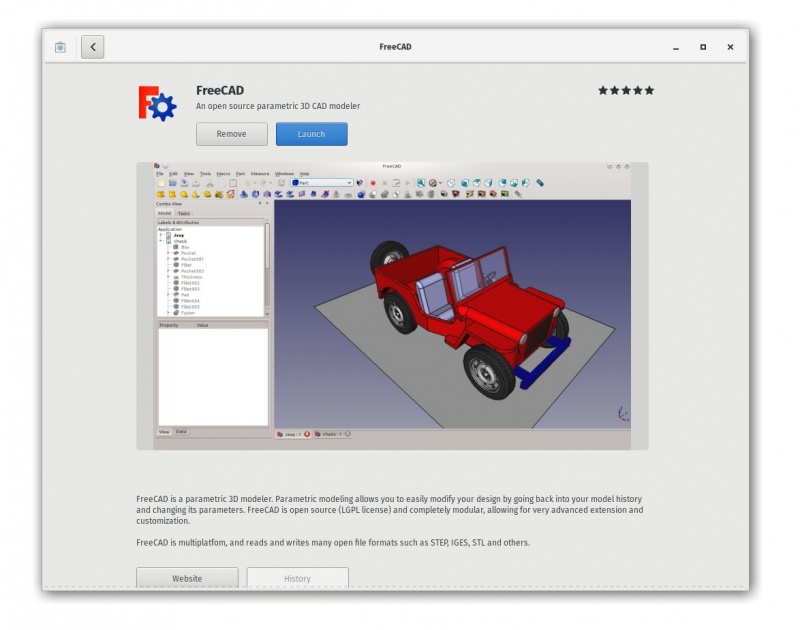
На більшості сучасних дистрибутивів Linux (Ubuntu, Fedora, OpenSUSE, Debian, Mint, Elementary і т.д.) FreeCAD може бути встановлено у декілька кліків, прямо із застосунку керування програмами дистрибутиву (його вид може не бути схожий на зображення знизу, так як кожен дистрибутив використовує власні інструменти).
- Відкрийте менеджер застосунків та знайдіть "Freecad":
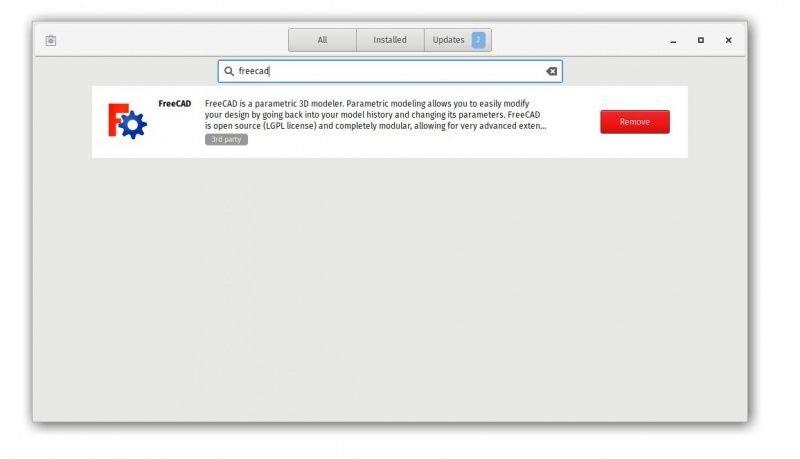
- Натисніть позначку "install". Готово, FreeCAD встановлено. Не забудьте потім виставити йому рейтинг!
Альтернативні методи
Одні з головних радощів використання Linux - це різноманіття можливостей для налаштування своїх програм, тому не обмежуйте себя. В Ubuntu та його похідних FreeCAD також може бути встановлено з цього сайту: PPA, який підтримується співтовариством FreeCAD (сайт містить як стабільну, так і нестабільну версію). У Fedora останні версії FreeCAD, які розробляються, можуть бути встановлені звідси: copr. А виходячі з того, що ці програми надаються з доступним вихідним кодом, Ви також можете легко скомпілювати FreeCAD самостійно.
Встановлення на Mac OS X
Завантаження FreeCAD на Mac OS X це тепер така ж легка справа, як і встановлення програми на інші платформи. Тим не менш, зважаючи на те, що у співтоваристві розробників FreeCAD мало людей мають Mac - доступні пакети часто затримуються на декілька версій у порівнянні з іншими платформами.
- Download a zipped package corresponding to your version.
- Open the Downloads folder, and expand the downloaded zip file:
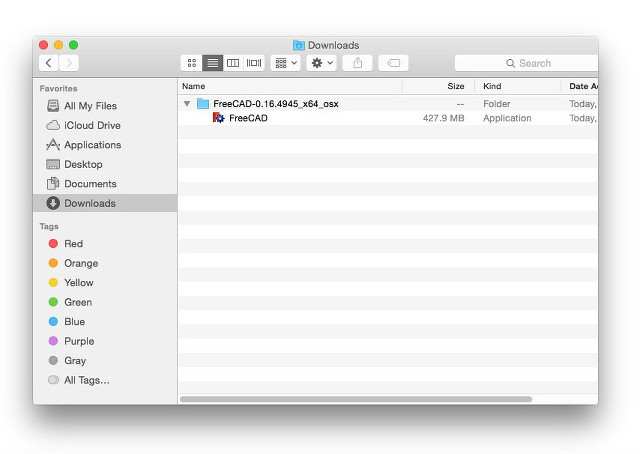
- Drag the FreeCAD application from inside the zip to the Applications folder:
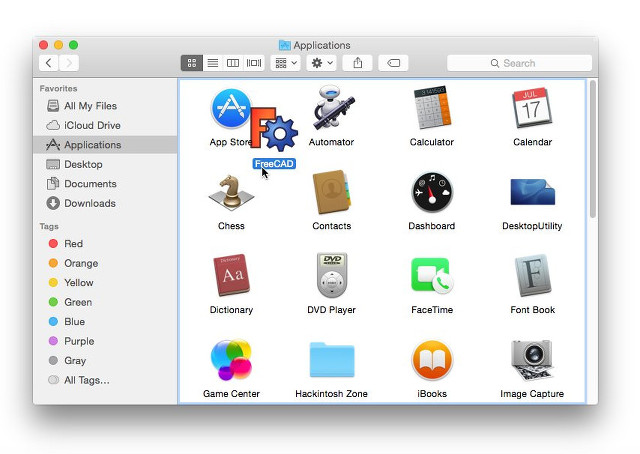
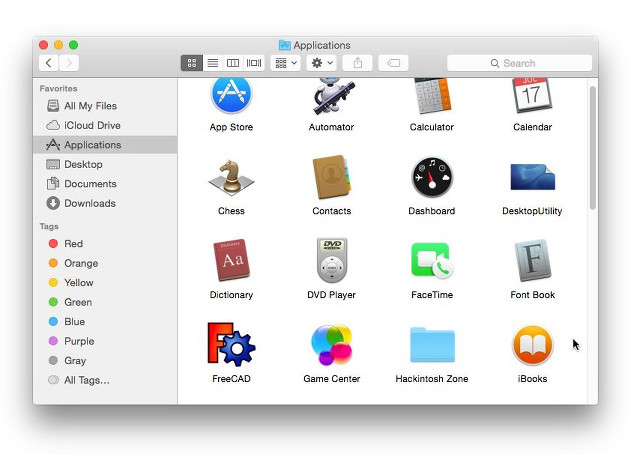
- That's it, FreeCAD is installed!
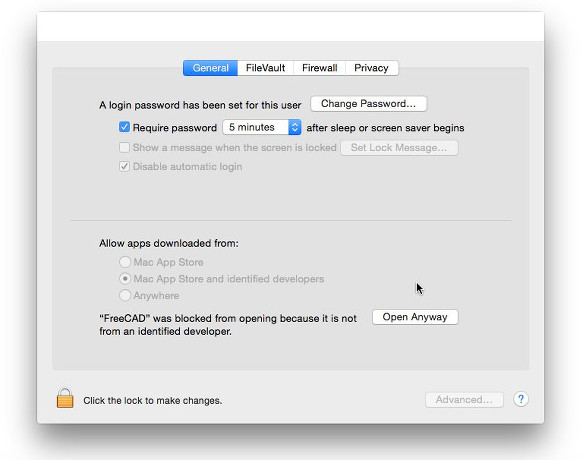
- If the system prevents FreeCAD from launching due to restricted permissions for applications not coming from the App store, you will need to enable it in the system settings:
Uninstalling
Ideally, you'll never want to part ways with FreeCAD, but should you ever need to uninstall it, rest assured the process is simple. On Windows, use the familiar "remove software" option from the control panel. For Linux users, uninstall it using the same software manager you employed to install it. Mac users have it easiest—just drag FreeCAD from the Applications folder to the trash.
Setting basic preferences
After installing FreeCAD, you'll likely want to personalize it by adjusting some settings. You can find the preference settings in FreeCAD by navigating to Edit → Preferences in the menu. Below are a few basic settings you might consider modifying right away, but feel free to explore the various pages of preferences to tailor the software to your needs even further.
General category, General tab

- Language: By default, FreeCAD will select your operating system's language, but you have the option to change it. Thanks to the dedication of many contributors, FreeCAD is available in a wide array of languages.
- Units: This setting allows you to choose the default units system for your projects.
General category, Document tab

- Create a new document at startup: FreeCAD will automatically open a new document each time the program starts.
- Storage options: Configure settings here to help you recover your work in the event of a crash.
- 'Authoring and license': In this area, you can determine the settings for new files. To facilitate sharing, consider starting with a more permissive, copyleft license like Creative Commons.
- Zoom at cursor: When enabled, zoom actions center on the mouse cursor. If disabled, zoom focuses on the center of the view.
- Invert zoom: This option reverses the zoom direction in relation to mouse movement.
Workbenches tab

Although FreeCAD typically opens to the start page, this setting lets you bypass it. You can start directly in your preferred workbench. Additionally, you can customize which workbenches are displayed in the selector menu.
Import-Export tab

Here, define basic parameters for importing and exporting in various formats.
Installing additional content
As the FreeCAD community expands and the ease of customization grows, numerous external contributions and side projects by community members and enthusiasts start popping up all over the internet. Many of these projects take the form of workbenches or macros, and you can easily add them to your toolbox via the Addon Manager, which is accessible from the Tools menu. The Addon Manager opens up a world of possibilities, allowing you to install various interesting components, such as:

- A Parts library. This library is a treasure trove of useful models or model fragments crafted by FreeCAD users. All items in this library are freely available for use in your projects and can be accessed directly within your FreeCAD setup.
- Additional workbenches. These are specialized extensions that enhance FreeCAD’s functionality for specific tasks. Example applications include animating model parts or managing specific construction processes like sheet metal folding or BIM (Building Information Modeling). Detailed information about each workbench, including an overview of the tools it contains, is provided on each addon's page, accessible through the corresponding link in the addon manager.
- A wide range of macros is also available for download. These can significantly streamline your workflow, and detailed documentation on how to use them can be found on the FreeCAD wiki.
As of FreeCAD v0.17.9940, the recommended installation method of any of the above tools is the built-in Addon Manager. However, if for any reason this option is not available, then manual installation is always possible. More information can be found at the FreeCAD addons page
Read more
- More download options
- FreeCAD PPA for Ubuntu
- FreeCAD addons PPA for Ubuntu
- Compile FreeCAD yourself
- FreeCAD translations
- FreeCAD github page
- The FreeCAD addons manager
Цю сторінку отримано з https://wiki.freecad.org/Manual:Installing