Pyzo
General Information
Motivation
Pyzo is a free and open-source Python IDE focused on interactivity and introspection, which makes it well-suited for engineering and scientific applications. This page describes how to use it in conjunction with FreeCAD.
Pyzo
- website: https://pyzo.org
- GitHub repository: https://github.com/pyzo/pyzo
- free and open-source (BSD)
- fully coded in Python
- available for Linux, MS Windows and macOS
Versions
Unless otherwise noted, this page assumes the following software versions:
- Pyzo 4.16.0
- FreeCAD 0.21.2
Set-Up and Configuration
Preparing a FreeCAD AppImage in Linux
-
download the AppImage --> e.g.: FreeCAD_0.21.2-Linux-x86_64.AppImage
-
{{Incode|1=$ chmod +x ./FreeCAD_0.21.2-Linux-x86_64.AppImage}}
-
{{Incode|1=$ ./FreeCAD_0.21.2-Linux-x86_64.AppImage --appimage-extract}}
-
{{Incode|1=$ mv ./squashfs-root FreeCAD}}
-
[some older Linux systems require: {{Incode|1=export FREECAD_USER_HOME=$HOME}}]
-
create a bash script python_freecad.sh in ./FreeCAD (in the same directory as bash script AppRun)
:
{{Code|lang=bash|code=
!/bin/bash
HERE="$(dirname "$(readlink -f "${0}")")"
${HERE}/AppRun python "$@"
}}- Start FreeCAD via via {{Incode|1=$ ./FreeCAD/AppRun}} and close it again so that the user config files are created properly.
Note that, on some Linux systems, the FreeCAD 0.21.2 AppImage reports an error \"MESA-LOADER: failed to open ...\" when being started. In that case execute {{Incode|1=$ rm ./FreeCAD/usr/lib/libdrm*}} after extracting and renaming the AppImage, as suggested here.
Installing Pyzo
- [for MS Windows and macOS] use the installer or extract the compressed archive from https://github.com/pyzo/pyzo/releases
- or run it from source: Download the Pyzo main branch as an archive, unpack the archive and then run {{Incode|python3 /path/to/pyzo-main/pyzolauncher.py}}. To use a specific Qt API instead of the automatically detected one, set environment variable \"QT_API\" before. Possible values are: pyside2, pyside6, pyqt5, pyqt6.
- or install it as a Python module: {{Incode|python3 -m pip install pyzo}}
Linux users please run Pyzo from source because there could be library incompatibilities with the provided binary version of Pyzo, resulting in a crash when opening the file dialog.
See also the chapter \"Installation\" in the Pyzo ReadMe: https://github.com/pyzo/pyzo#installation
Shell Configuration
Start Pyzo and enter the shell configuration dialog via the Menu: Shell -> Edit shell configurations... A dialog window will appear. If there was no old shell configuration found, then Pyzo will create a single tab named \"Python\" with an empty \"exe\" textbox. Fill out this tab with the values provided below. Otherwise, if there is no tab with an empty \"exe\" textbox, press the button \"Add config\" on the top right corner, and then fill out the tab:
name : freecad (or something else)
exe [for Windows]
:
C:\Program Files\FreeCAD 0.21\bin\python.exe
exe [for Linux]
:
/home/.../FreeCAD/python_freecad.sh
exe [for macOS]
:
/Applications/FreeCAD.app/Contents/Resources/bin/python
: Or, in case of this error: Fatal Python error: take_gil: PyMUTEX(gil->mutex) failed, try:
:
/Applications/FreeCAD.app/Contents/Resources/bin/freecadcmd
gui : PySide2
pythonPath [for Windows and Linux] : [leave empty]
pythonPath [for macOS]
:
/Applications/FreeCAD.app/Contents/Resources/lib
startupScript : select radio button \"Code to run at startup\" : enter the following code in the text field, replacing everything that was there before: :
    from PySide2 import QtCore, QtWidgets
    QtCore.QCoreApplication.setAttribute(QtCore.Qt.AA_ShareOpenGLContexts, True)
    # optional switches:
    # QtWidgets.QApplication.setAttribute(QtCore.Qt.AA_EnableHighDpiScaling, True)
    # QtCore.QCoreApplication.setAttribute(QtCore.Qt.AA_UseHighDpiPixmaps, True)

    # AFTER_GUI - code below runs after integrating the GUI
    import os, sys
    if sys.platform == 'linux': # ... and using the (extracted) AppImage
        sys.path.append(os.environ['PATH_TO_FREECAD_LIBDIR'])
    # some older Linux systems require the following line:
    # os.environ['FREECAD_USER_HOME'] = os.environ['HOME']

    import FreeCAD as App
    import FreeCADGui as Gui
    App.ParamGet('User parameter:BaseApp/Preferences/OutputWindow').SetBool('RedirectPythonOutput', False)
    App.ParamGet('User parameter:BaseApp/Preferences/OutputWindow').SetBool('RedirectPythonErrors', False)
    Gui.showMainWindow()
environ:
: enter the following environment variables:
:
{{Code|lang=text|code=
PYZO_PROCESS_EVENTS_WHILE_DEBUGGING=1
LC_NUMERIC=C
}}
Finally, press button \"Done\" in the shell configuration dialog. Run a new \"freecad\" shell via Pyzo\'s \"Shell\" menu. This will start the FreeCAD Gui and a will open a FreeCAD Python shell in Pyzo.
On Linux, when not using an (extracted) AppImage, change {{Incode|sys.path.append(os.environ['PATH_TO_FREECAD_LIBDIR'])}} in the text field \"startupScript\" to e.g. {{Incode|sys.path.append('/builds/freecad-source/build/lib')}}, specifying the directory to the library files \"FreeCAD.so\" and \"FreeCADGui.so\". This library directory path could also be added to the field \"pythonPath\" in the Pyzo shell configuration dialog instead.
The environment variable entry {{Incode|PYZO_PROCESS_EVENTS_WHILE_DEBUGGING=1}} will tell Pyzo to periodically update FreeCAD\'s Qt-GUI while FreeCAD is stopped during a breakpoint.
Do not remove the {{Incode|# AFTER_GUI}} comment in the newly entered startup code -- this is a separator used by Pyzo to split the code into two blocks.
If you have an older Mac and pyzo fails to launch (e.g. pyzo 4.13.2 on OS-X 10.15), a possible work-around is to launch a patched pyzo 4.12.7 from the Terminal. See FreeCAD forum message
General Pyzo Usage
See https://pyzo.org/guide.html and run the Pyzo Wizard (Menu: Help -> Pyzo Wizard) to get a short introduction.
Noteworthy information:
- You can enter some \"magic\" commands in the Pyzo\'s Python shell, for example \"pip install sympy\". This also works with FreeCAD.
- Ctrl+I in the shell (or clicking on the flash symbol) will send a KeyboardInterrupt. Ctrl+C is used for the normal copy function.
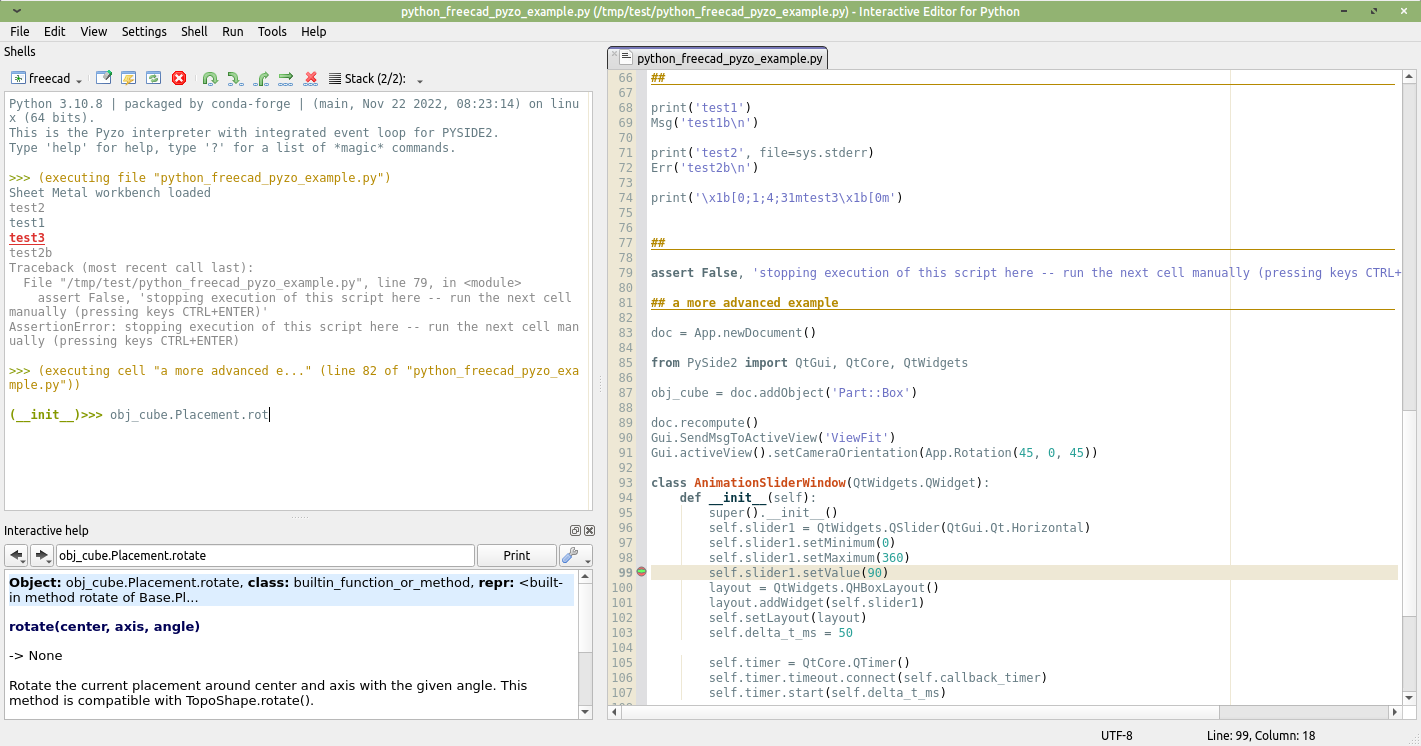
- Press F5 or Ctrl+E to execute the whole file. But do not use \"Run file as script\" as this will restart the shell together with FreeCAD.
- Press F9 to execute just the selected code.
- Press F10 to execute the current line in the editor and print the result to the shell
- Press Ctrl+Return to execute the current cell.
- Right click on an editor tab will open a context menu.
- Many keyboard shortcuts are similar to MATLAB.
- The \"Logger\" tool (widget) has a shell to the Pyzo GUI\'s Python interpreter. You can fully access all objects there, for example copying a shell configuration via {{Incode|pyzo.config.shellConfigs2.insert(0, pyzo.config.shellConfigs2[1].copy())}}.
- When there is a printed stack trace in the Python shell, double click the filename to open the file at the specific line number.
- When dealing with performance critical code, avoid printing too much to the shell as stream outputs directed to the Pyzo IDE will slow down the execution.
- There is no{{Incode|file}} variable defined in the interactive mode, but as a workaround you can run {{Incode|import inspect; file = inspect.getfile(inspect.currentframe())}} to get it.
- In Pyzo\'s \"About\" dialog (Help -> About Pyzo) you can see the folder where Pyzo stores the settings.
- Pyzo can be configured to be portable, e.g to run it from a usb pen-drive with encapsulated settings. To enable this, rename the folder \"_settings\" in Pyzo\'s application folder to \"settings\".
- You can directly modify Pyzo\'s source code even in the binary distribution because the binary is just a Python-Interpreter that runs the Python source code in the installation directory.
Example Work Flows
A normal workflow to automate FreeCAD operations is similar to using just FreeCAD. The shell in Pyzo has access to the same Python interpreter as the \"Python console\" panel in the FreeCAD GUI. Both can be used in a mixed fashion, whatever is more convenient in the situation.
Pyzo brings very nice features to this workflow, just to list some of them:
- Write a new function in the editor, set a breakpoint and run the code. You can now work inside the function\'s scope and continue your workflow even manipulating objects manually in FreeCAD.
- If you started an (almost) endless loop, you can interrupt the execution by pressing Ctrl+I in Pyzo (\"Shell -> Interrupt\" in the menu). You also can pause execution, inspect/modify data and resume execution -- press the pause button in the shell\'s toolbar (\"Shell -> Pause\" in the menu).
- You can have some code fragments prepared in the Pyzo editor tabs and execute individual cells. Try new commands and add them to the code editor to grow your new script.
- The command history in the Pyzo shell is not cluttered with auto-generated commands but you can still access the automatically inserted comments in the FreeCAD Python panel.
- If there was an exception which made your code abort execution, just do a post-mortem debug and watch all the variables in different stack layers to find out the cause of the error.
Have a look here and here to see this in action (with an older version where the FreeCAD start was not yet included in the Pyzo shell configuration).
Example for manipulating an object in a shape generation macro
- Start Pyzo with FreeCAD, switch to the Part workbench and create a new file.
- Open file \"Mod/Part/BasicShapes/Shapes.py\" (inside the FreeCAD folder) in Pyzo.
- Set a breakpoint at line 37 ({{Incode|inner_cylinder = Part.makeCylinder(innerRadius, height)}}).
- Apply the breakpoints, for example by pressing Return in the shell in Pyzo.
- In FreeCAD, run \"Part -> Primitives -> Create tube\".
- Function \"makeTube\" is now interrupted via the breakpoint.
- Execute the command {{Incode|outer_cylinder.rotate((0, 0, 0), (0, 1, 0), 45)}} in Pyzo\'s shell.
- Continue execution, e.g. via \"Shell -> Debug continue\"
- Now you have a cylinder with a misaligned hole.
Example for skipping code in a shape generation macro
- Start Pyzo with FreeCAD, switch to the Part workbench and create a new file.
- Open file \"Mod/Part/BasicShapes/Shapes.py\" (inside the FreeCAD folder) in Pyzo.
- Set a breakpoint at line 37 ({{Incode|inner_cylinder = Part.makeCylinder(innerRadius, height)}}).
- Apply the breakpoints, for example by pressing Return in the shell in Pyzo.
- In FreeCAD, run \"Part -> Primitives -> Create tube\".
- Function \"makeTube\" is now interrupted via the breakpoint.
- In Pyzo, set the text cursor to line 39 ({{Incode|return shape}}).
- Run \"Shell -> Debug jump\" or click the new icon in the shell\'s toolbar.
- Continue execution, e.g. via \"Shell -> Debug continue\"
- Now you have a cylinder instead of a pipe because you skipped creating the inner cylinder and cutting it.
Example for using breakpoints in callbacks
This is a step-by-step demonstration of how breakpoints can be used to debug callbacks in FeaturePython objects.
-
Copy the full example code from https://wiki.freecad.org/Create_a_FeaturePython_object_part_II#Complete_code and save it to a file (to have a module), e.g. /tmp/mymodules/mytest.py
-
Start Pyzo with a FreeCAD shell and wait till the FreeCAD GUI is fully loaded.
-
Run the following commands in the Pyzo shell (or in the Python console panel in FreeCAD\'s GUI):
sys.path.append('/tmp/mymodules')

import mytest

doc = App.newDocument()
mytest.create('abcde')
4.  Open file \"/tmp/mymodules/mytest.py\" in Pyzo (if not already open).
5.  Set a breakpoint at the line {{Incode|1=obj.Shape = ...}} in method {{Incode|execute(self, obj)}} of class {{Incode|Box}}.
6.  Breakpoints are updated in Pyzo when giving a command to execute code (or continuing execution when the debugger is active). Therefore run the dummy code {{Incode|pass}} in Pyzo\'s shell or just press Return there so that the breakpoint will be applied.
7.  Switch to the FreeCAD GUI, select object \"abcde\" and change the value of property \"Height\", for example from 10 to 20 mm.
8.  Now, the breakpoint is triggered. Switch to Pyzo and inspect the value of obj.Height by executing {{Incode|obj.Height}} in the shell. Change the value by executing {{Incode|1=obj.Height = 400}} and continue execution via \"Shell -\> Debug continue\". Switch back to the FreeCAD GUI \-- the box shape now has a height of 400 mm.

### Example for monkey patching FeaturePython objects

Normally, the code for FeaturePython objects is part of a module. Once FreeCAD objects are created, changes to the code in the module will only take effect after closing the FCStd-file, reloading the module, and re-opening the FCStd file.

To make quick iteration cycles during development of FeaturePython code, a monkey patching strategies can be used, as demonstrated with the following example.

First we create the module with the FeaturePython object\'s code. Create a new python script with the following code and save it into your user macros directory as \"mymod.py\".


<div style="height:20em; width:100%; overflow:auto; border: 1px solid #000">


```python
import FreeCAD as App


def create(obj_name):
    obj = App.ActiveDocument.addObject('Part::FeaturePython', obj_name)
    MyBox(obj)
    App.ActiveDocument.recompute()
    return obj


class MyBox():
    def __init__(self, obj):
        self.Type = self.__class__.__name__
        obj.Proxy = self

    def execute(self, obj):
        # called on document recompute
        self.my_computations(obj)

    ## start of code for monkeypatching

    def my_computations(self, obj):
        print(obj.Label, 'aaa')

    if '__module__' not in dir():
        def _monkeypatch_method(classname, method):
            import inspect, os, sys
            __this_file__ = os.path.abspath(inspect.getfile(inspect.currentframe()))
            for mod in sys.modules.values():
                if __this_file__.startswith(getattr(mod, '__file__', None) or '_'):
                    setattr(getattr(mod, classname), method.__name__, method)
        _monkeypatch_method('MyBox', my_computations)

    ## end of code